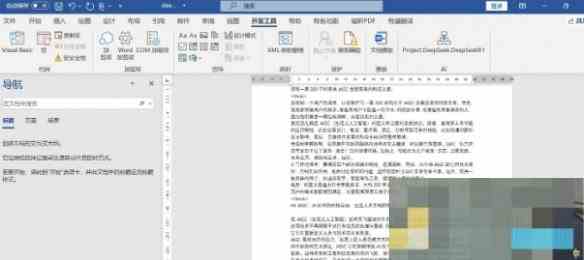
想要将deepseek的强大功能融入Word,轻松实现翻译、内容扩写和错别字检查?快来看看我们的操作指南吧!只需简单几步,你就能体验deepseek的高效便捷,让你的文档工作如虎添翼。感兴趣的你,切勿错过这个实用的教程!

【使用教程】
deepseek怎么接入word
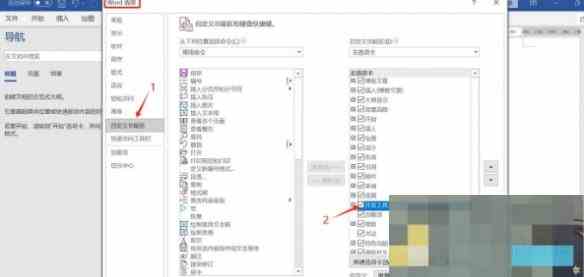
1、首先需要打开Word文档,然后依次点击【文件】、【更多】、【Word选项】、【自定义功能区】、勾选【开发工具】。
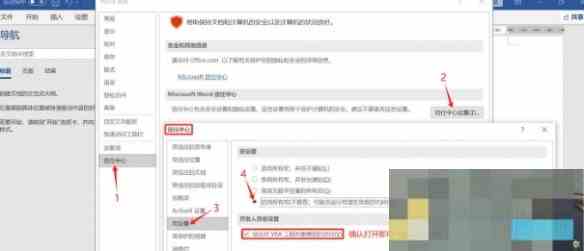
2、完成后需要按照下方步骤进行信任中心界面,找到宏设置后点击【启用所有宏】。
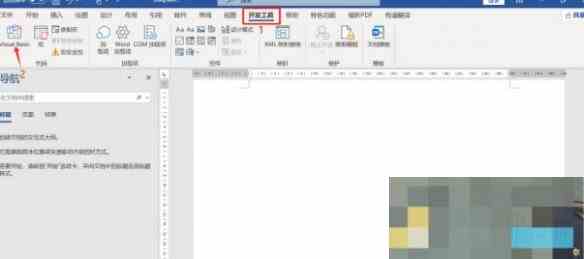
3、依次点击【开发工具】、【Visual Basic】按钮。
4、选择菜单后点击【插入】、【模块】,然后将图中红框处命名为【DeepSeek】。
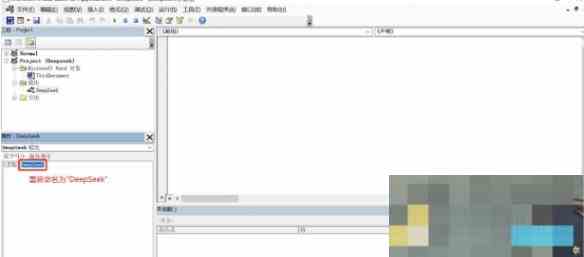
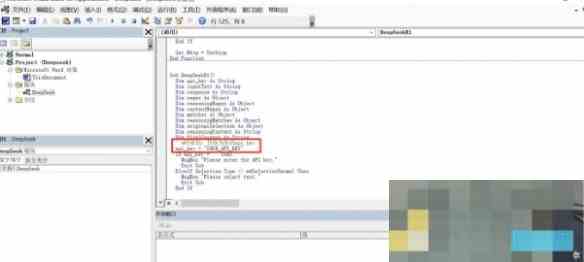
5、之后将下方代码粘贴至DeepSeek模块中。
Function CallDeepSeekAPI(api_key As String, inputText As String) As String
Dim API As String
Dim SendTxt As String
Dim Http As Object
Dim status_code As Integer
Dim response As String
' API服务地址
API = "https://apiemp.baystoneai.com/cognihub/service/v1/chat/completions"
' API模型名称
SendTxt = "{""model"": ""deepseek-r1-distill-qwen"", ""messages"": [{""role"":""system"", ""content"":""You are a helpful assistant.""}, {""role"":""user"", ""content"":""" & inputText & """}], ""stream"": false}"
Set Http = CreateObject("MSXML2.XMLHTTP")
With Http
.Open "POST", API, False
.setRequestHeader "Content-Type", "application/json"
.setRequestHeader "Authorization", "Bearer " & api_key
.send SendTxt
status_code = .Status
response = .responseText
End With
' 弹出窗口显示 API 响应(调试用)
' MsgBox "API Response: " & response, vbInformation, "Debug Info"
If status_code = 200 Then
CallDeepSeekAPI = response
Else
CallDeepSeekAPI = "Error: " & status_code & " - " & response
End If
Set Http = Nothing
End Function
Sub DeepSeekR1()
Dim api_key As String
Dim inputText As String
Dim response As String
Dim regex As Object
Dim reasoningRegex As Object
Dim contentRegex As Object
Dim matches As Object
Dim reasoningMatches As Object
Dim originalSelection As Object
Dim reasoningContent As String
Dim finalContent As String
' API密钥:替换为你的api key
api_key = "YOUR_API_KEY"
If api_key = "" Then
MsgBox "Please enter the API key."
Exit Sub
ElseIf Selection.Type <> wdSelectionNormal Then
MsgBox "Please select text."
Exit Sub
End If
' 保存原始选中的文本
Set originalSelection = Selection.Range.Duplicate
inputText = Replace(Replace(Replace(Replace(Replace(Selection.Text, "\", "\\"), vbCrLf, ""), vbCr, ""), vbLf, ""), Chr(34), "\""")
response = CallDeepSeekAPI(api_key, inputText)
If Left(response, 5) <> "Error" Then
' 创建正则表达式对象来分别匹配推理内容和最终回答
Set reasoningRegex = CreateObject("VBScript.RegExp")
With reasoningRegex
.Global = True
.MultiLine = True
.IgnoreCase = False
.Pattern = """reasoning_content"":""(.*?)"""
End With
Set contentRegex = CreateObject("VBScript.RegExp")
With contentRegex
.Global = True
.MultiLine = True
.IgnoreCase = False
.Pattern = """content"":""(.*?)"""
End With
' 提取推理内容
Set reasoningMatches = reasoningRegex.Execute(response)
If reasoningMatches.Count > 0 Then
reasoningContent = reasoningMatches(0).SubMatches(0)
reasoningContent = Replace(reasoningContent, "\n\n", vbNewLine)
reasoningContent = Replace(reasoningContent, "\n", vbNewLine)
reasoningContent = Replace(Replace(reasoningContent, """", Chr(34)), """", Chr(34))
End If
' 提取最终回答
Set matches = contentRegex.Execute(response)
If matches.Count > 0 Then
finalContent = matches(0).SubMatches(0)
finalContent = Replace(finalContent, "\n\n", vbNewLine)
finalContent = Replace(finalContent, "\n", vbNewLine)
finalContent = Replace(Replace(finalContent, """", Chr(34)), """", Chr(34))
' 取消选中原始文本
Selection.Collapse Direction:=wdCollapseEnd
' 插入推理过程(如果存在)
If Len(reasoningContent) > 0 Then
Selection.TypeParagraph
Selection.TypeText "推理过程:"
Selection.TypeParagraph
Selection.TypeText reasoningContent
Selection.TypeParagraph
Selection.TypeText "最终回答:"
Selection.TypeParagraph
End If
' 插入最终回答
Selection.TypeText finalContent
' 将光标移回原来选中文本的末尾
originalSelection.Select
Else
MsgBox "Failed to parse API response.", vbExclamation
End If
Else
MsgBox response, vbCritical
End If
End Sub
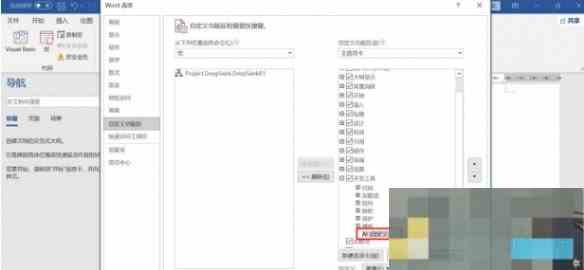
6、保存后将这个弹框关闭,然后依次点击【文件】、【更多】、【选项】、【自定义功能区】,然后勾选宏。
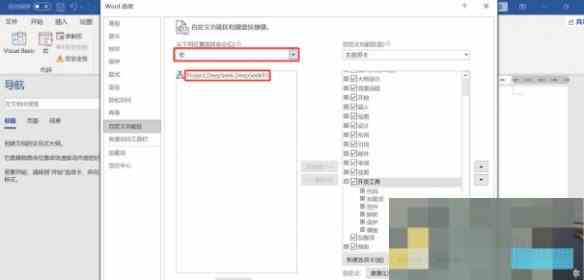
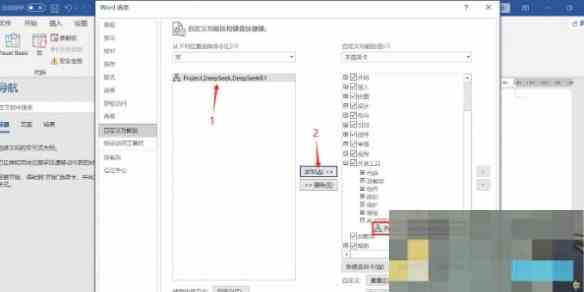
7、接着根据图中顺序进行操作。

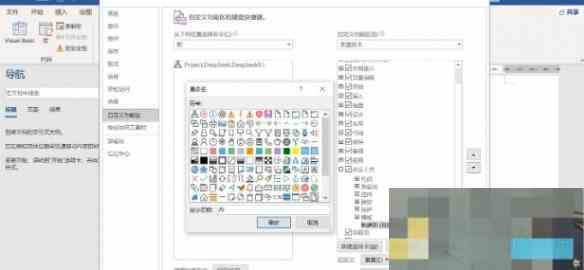
8、点击下方按钮后,点击继续根据图中提示进行操作。
9、就能在开发工具界面看到下方按钮。
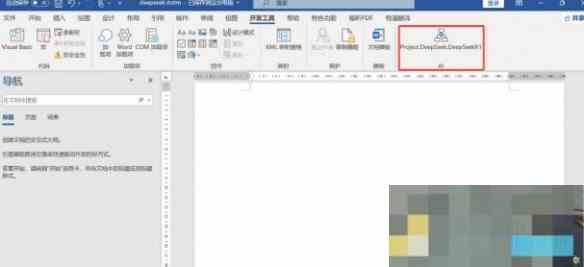
10、最后大家只需在Word文档中输入一段文字,然后点击新建的按钮,就能进行内容扩写、翻译、检查错别字等操作了。
